Last updated on April 4th, 2025 at 12:48 pm
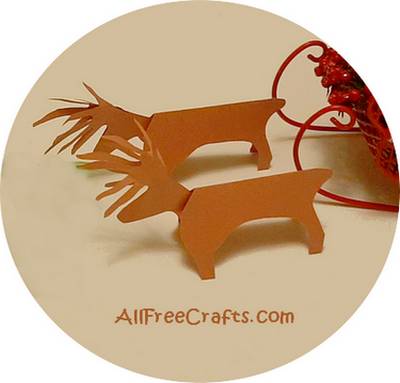
Create a colorful herd of construction paper reindeer, ready to pull Santa’s sleigh, with this free DIY printable reindeer template and step-by-step directions.
There are two simple ways of producing these pretty little construction paper reindeer. You can print the template on computer paper, place it against the fold on construction paper, then cut it out. Or you can print directly on construction paper, fold at the top of the reindeer, and cut out from there.

Either way, once you have a few construction paper reindeer ready to go, just follow the DIY directions and gather the herd.
I’ve given step-by-step directions and photos to help build your herd. Just follow along and you’ll soon be hearing the cheerful neigh-neigh-neigh as the reindeer get ready for Santa.
If you love construction paper projects, see How to Make a Construction Paper Maple Leaf with step-by-step photo instructions plus a short video; a simple to assemble 3D Paper Pumpkin plus Construction Paper Pumpkin Banner. For Christmas, try Construction Paper Reindeer with free printable template.
Project Directions:
Prepare the Paper: The printable reindeer template is designed to print two reindeer per 8.5″ x 11″ page. If your construction paper is larger, please cut it down to the same size as standard letter-size computer page then insert it into your printer.
If you want the plain paper template version then print the design on standard paper and you’ll get two reindeer templates on each sheet. Hold this the reindeer silhouette against folded construction paper.
AllFreeCrafts is reader supported! Many supplies are found at thrift stores so try that first! However, if you buy from an affiliate link on this site, I earn a commission at no extra cost to you. As an Amazon associate, I earn from qualifying purchases. This has kept AllFreeCrafts.com online since 2002. Thank you!
You Will Need:
- free printable reindeer template
- one sheet of construction paper (Amazon) to make two reindeer
- small paper scissors
- paper glue stick (Amazon) or white glue
- optional: small Santa’s sleigh ornament
How to Cut Out and Assemble Construction Paper Reindeer
Step One (printing on construction paper): If printing the template directly on construction paper, make sure the paper is the same size as ordinary computer paper. If needed, cut to fit, then place construction paper in your printer.

You will need one sheet for every two paper reindeer.
Print as many templates as you need, then cut each one in half where indicated. On each section, you will now have one reindeer outline like the one shown here. Go to Step Two.
Step One (using plain computer paper template): If you print the template on plain white computer paper, cut it in half, where indicated, to make two templates. Take a half sheet of construction paper and fold it in half again. Place the top line of the reindeer outline against the fold, as shown. Hold the template firmly against the construction paper. Go to the Step Two.
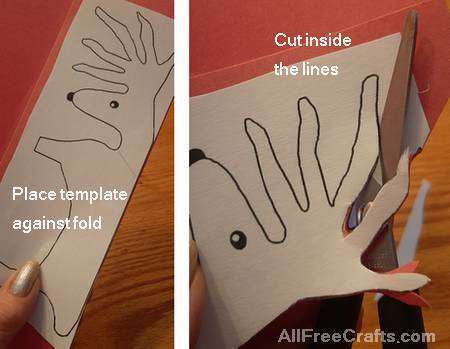
Step Two: Take paper scissors and carefully cut out the reindeer, as shown, beginning at the top of the neck and ending at the top of the tail. Do NOT cut along the fold line as this area forms the top of the reindeer’s body.
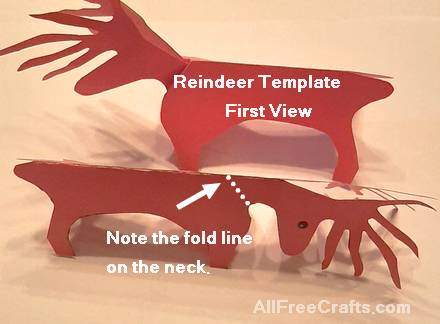
Step Three: When you first open the reindeer, you’ll see a faint fold line across the reindeer’s neck. This shows the angle of the first fold which brings the head into an upright position.
First, fold the reindeer inside out so that the printed markings are hidden away.
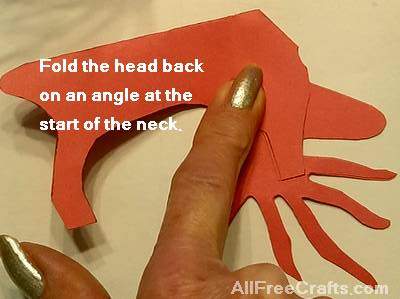
Step Four: Fold the reindeer’s head down, on an angle, following the fold line at the neck.
Return the head to its previous position. Turn the reindeer over and repeat this step once again folding the head down.
Press down against the neck fold to crease it firmly as this fold will support the head.
Step Three: This step is a bit tricky at first. But once you’ve done it a time or two, you’ll be well away. So here we go – look at the sequence of photos and follow my moves! Or watch my one-minute video below. We’ll have your reindeer prancing very soon.
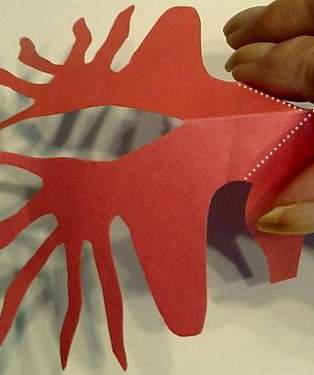
Now, when you open up the paper reindeer, the angle of the neck folds should resemble the dotted lines shown here.
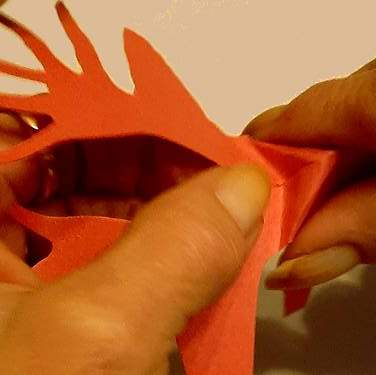
Hold both sides of the folded neck. Also hold the reindeer’s face with both noses facing down.
Gently push both sections together, easing the base of the neck slightly downwards and into position against the body.
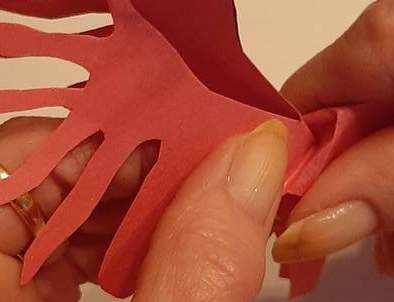
Begin to bring both sides of the reindeer’s face together as you ease the base of the neck into an upright position.
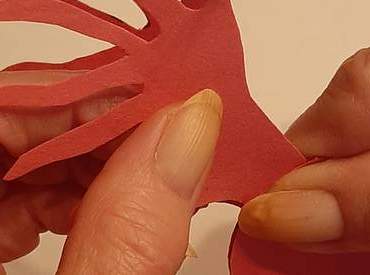
Firmly press all layers of construction paper together to secure the reindeer’s neck and head.
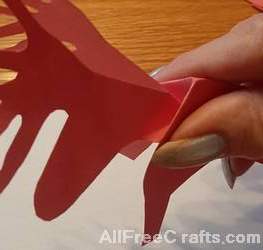
When you release the folds, both sides of the head should now be lifted up and facing forward.
Now he can see where Santa’s sleigh is going!
Step Four: Use a glue stick or white glue to glue together the two reindeer noses and the tails. If the legs spread out too far, just apply a bit more glue to the nose and tail areas for added stability.
Make as many construction paper reindeer as you need for Christmas decorating. This colorful herd looks fantastic grazing on a red Christmas tree skirt beneath the twinkling lights and ornaments.

And, of course, they are always ready to guide Santa’s sleigh on Christmas Eve. Happy Christmas to All!
More Free Reindeer Crafts:
For the following projects, you’ll be leaving AllFreeCrafts.com and I’m sorry to see you go! Please visit again soon. Smile.
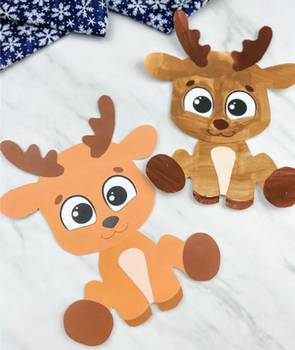
Kids can color or paint this free printable template from SimpleEverydayMom, then assemble a cute paper reindeer.
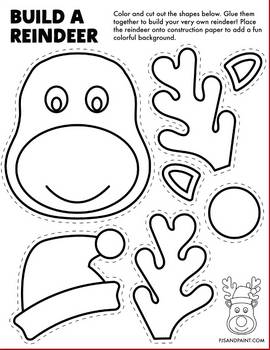
Color, cut out, and build a flat reindeer courtesy of PjsandPaint.
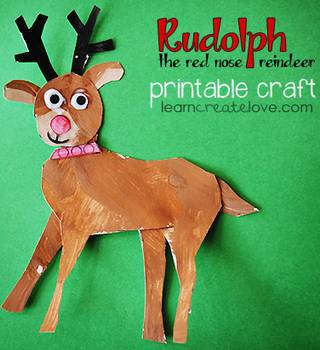
Learncreatelove offers this free printable Rudolph the Red Nose reindeer craft.






Leave a Reply